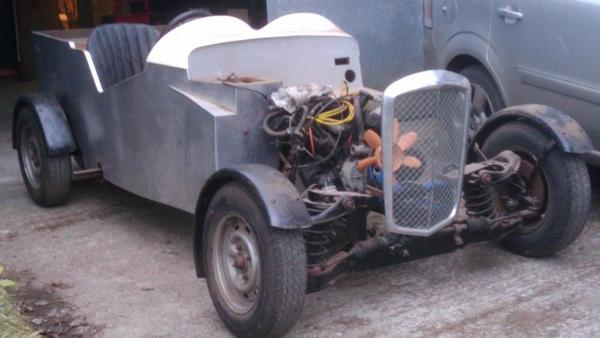
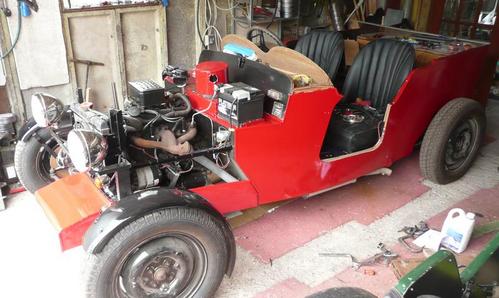
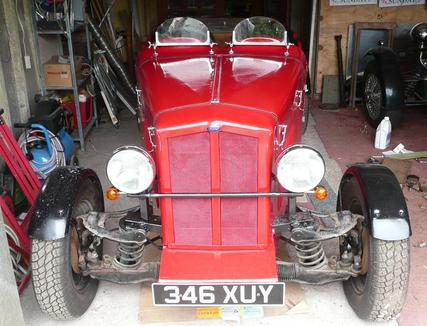
This is how it started, a lot of the bodywork is done, but at this stage it's really the running gear, engine, gearbox, drive-shaft wheels and axles on a chassis. The Tub, or bodywork, is where most of the work has gone, as unlike most kit-cars, with fibre-glass tubs, it is hand built with ply-wood and aluminium. The work is good, but there are a few areas where I would like to make some adjustments. Mostly because of the 15" wheels I want to fit along with a couple of doors. The current 13" Ford wheels look too small. The wedge by the drivers right knee is a mount point for the spare wheel, it will have to go. Apart from the difficulty of fitting a bonnet and side panels around it, with a larger wheel, it would not allow a door as well. March 2011
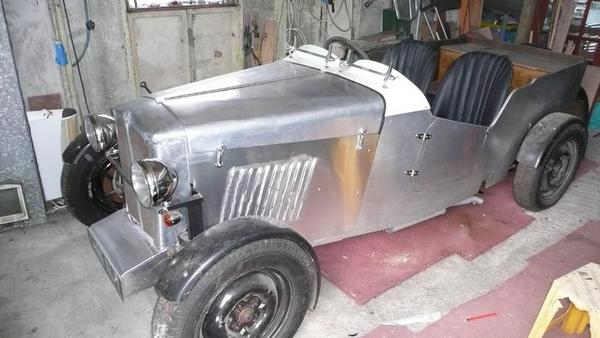
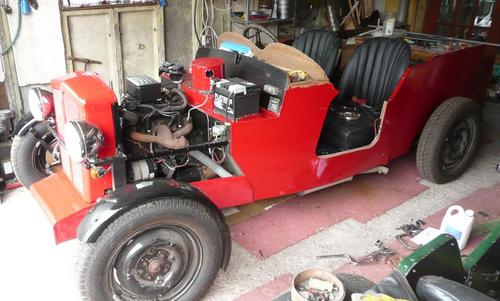
This, some time later, is the bulk of the beast in place, Battery, wiring, brake system, exhaust all in and running I've made some doors and fitted the bigger 15" Hillman Minx wheels, headlights, and indicators. The engine bonnet and other forward panels are made up and fitted, although they'll need taking off for finishing and painting. It would be quite nice to lacquer the body instead of painting it, but I think my panel beating "skills" would show through. One oddity is that the different grades of aluminium do seem to have slightly different colours. March 2013
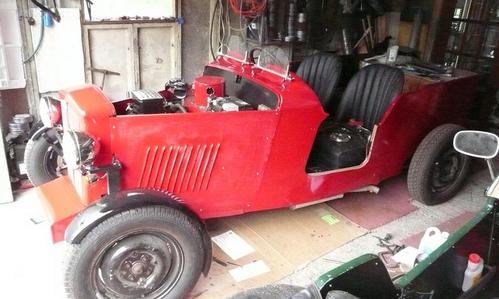
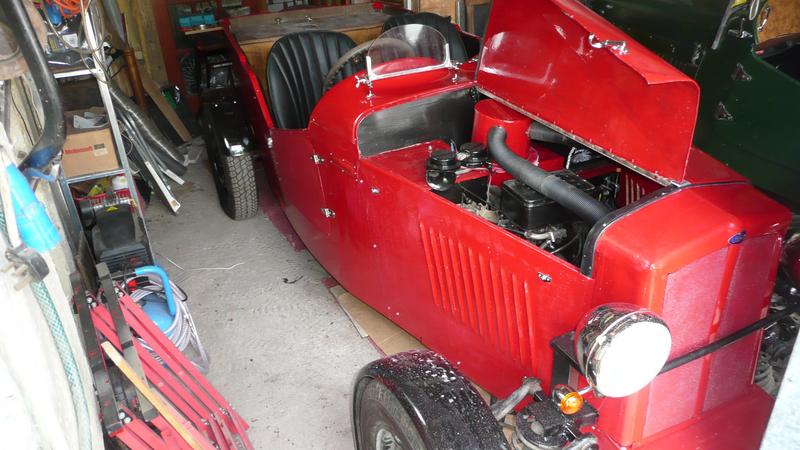
The engine is back in and wired up, the battery is re-positioned and there's a heat exchanger to warm the occupants. There's some padded lining in and some carpet. The wiring is complete and an electric fan has replaced the mechanical one. Time for some paint. May 16th 2013
The Ford JC Midge. Eventually a Triumph.
Having put most of it together, it's time to disassemble it and finish the detailed bits.
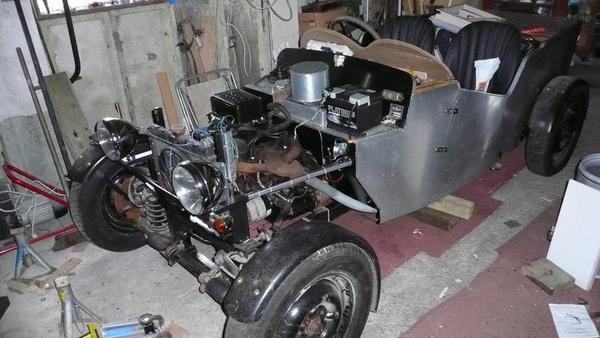
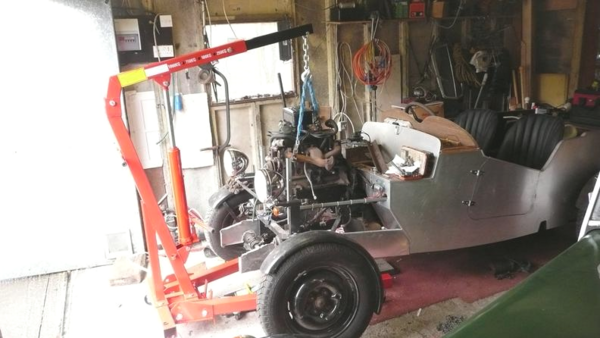
The engine has to come out because the clutch has stuck, there are other ways of freeing it off, but this gives me the chance to make a few adjustments in the engine bay, as well as stripping the body panels off for painting.
The engine lifter was cheaper to buy than hire, when the time to collect and return is costed in, and it will be available for other jobs. I will have to develop some kind of hanging cradle so that I can find the balance point of engines, which will make putting them back in easier.
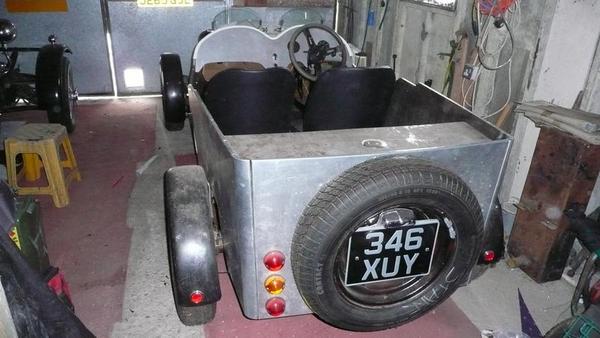
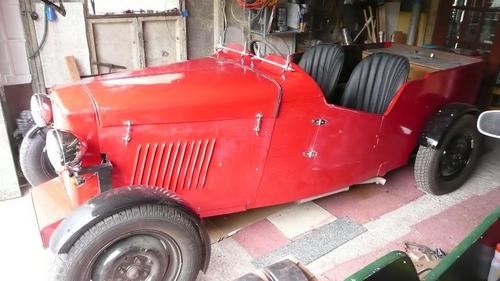
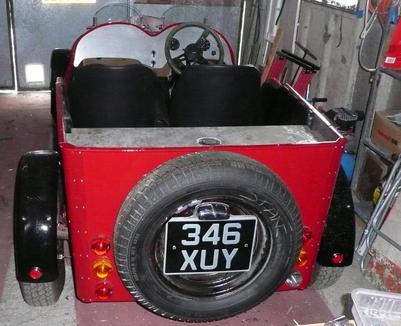
The back end. It could do with a bumper, though I guess the tyre should perform most of that function. maybe a GB sticker, or better still, a metal one like the number plate. I'd like to have fitted trafficators (little arms that pop out and light up) but nobody knows what they are now, and I'd better not confuse the younger motorists any more than necessary.
The spare wheel support was harder than it looks, the chassis ends above the rear axle, so all the loading has to go onto the plywood bodywork, however it seems strong enough. There's a Ford rear axle half shaft being supported by an A frame which in turn is assisted by an H frame.
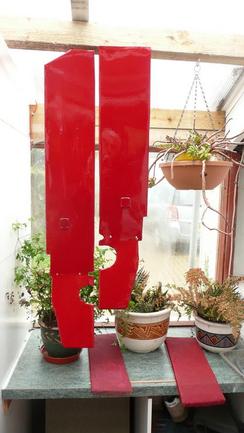
I'm not sure Fiona's plants and my painting efforts are compatible, but this is a great time for panel work, sunshine to dry the paint and the insects aren't about in any numbers yet. I'll have to get them finished before the Midgies arrive, these would be just too tempting a target. Fortunately they are at least a month behind schedule. I never thought I'd get such a bonus from climate change.
OK now. Sadly the paint appears better than it is close-up, so it'll need flatting off and polishing, but here we go.
Primer and first coat on the main body, start reconstruction. The coach paint is taking a lot longer to dry than I hoped. I'll try a two pack next time.
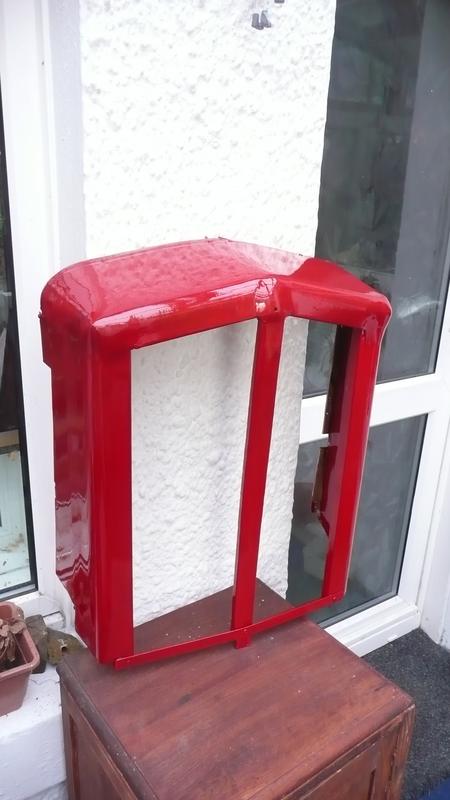
Radiator grille, probably the fiddliest bit to get in the right position, eventually sorted by moving it forward 10mm on the passenger side.
Side panels and dash-top, easy to fit, but hardest to paint.
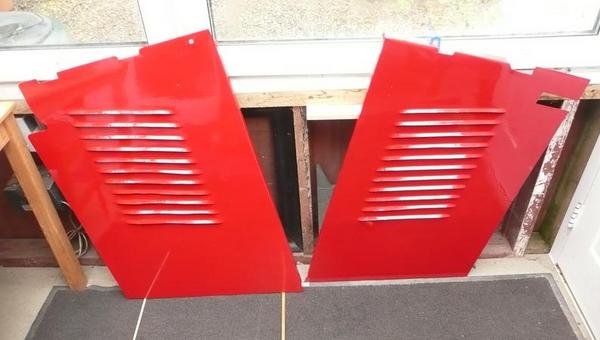
Doors and bonnet, rear mudguards and a lot of adjustment. Starting to look a bit more like a car.
I'd like to make the front suspension look a bit nicer, but I think we are getting there.
Pause to admire the double hinged bonnet. The central rib means it is locked down at both ends and although I like the look of a leather belt, they were only fitted because the bonnets tended to lift at speed.
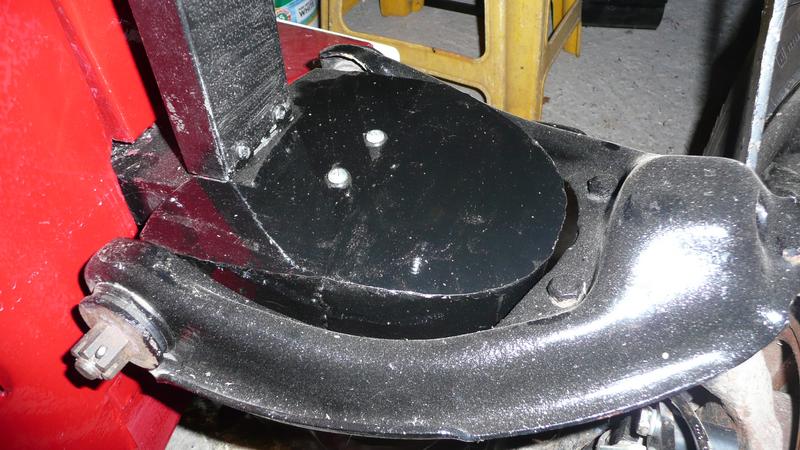
I am inordinately proud of a simple filler piece that I made to tidy up the great gap in the upper wishbones. this will not mean much to the people who don't tinker with Midges, but for those who do:-
The weedy looking tubes (just under the indicator seen above) that take the inboard upper wishbone bolt looked as though they would bend without much provocation. I welded some box section steel around them and added some web-plates to spread the load. That made it stronger, but even uglier. So I made up some blanking plates with skirts to hide the lot. They just sit there while the suspension moves around them.
In planetary terms Midge builders are rare, Ford Midge builders even rarer, so this is a really specialised item, there aren't going to be many Ford Midge builders who haven't worked out something like this, but I can supply plans if needed.
After all that work I still had the problems inherent with the Ford parts. There was a persistent leak on the back axle and the Ford engine was rather worn. At the same time the bodywork on the 'blue' Midge was proving to be less than perfect. (The blue was just the plastic protective film on raw alloy.) The petrol tank couldn't be removed without cutting the back off the car, and the wood used for the body was unsuitable and too heavy. So I decided to put the red bodywork on the blue chassis. The 'red' chassis and the 'blue' bodywork found an eager buyer and I developed a spare garage space. Then another 'part built' Midge turned up with a good log-book (V5c). The combining of the red/blue Midge is below. On the left is the original blue Midge, middle is the blue chassis and right is the old red Midge chassis. and the now 3rd Midge which is silver (unpainted alloy) at the moment . I'll sell the blue body and the red midge chassis and put the red body on the blue chassis and replace the 13" wire wheels with 15" shiny new ones....Just like that... 2018.


There is a 'silver' Midge awaiting completion in the middle garage. Somebody else's unfinished project that was a bit too nice to let go to the scrapyard, especially as it is properly documented.
I'm going to need a bit more space to finish it though as an MX5 turned up just when I thought I had a spare garage.
Update, I have sold the red midge to JC and will be considering the silver Midge as the next project.